Docker 101: Introduction
Introduction to docker and architecture of docker. We will look into how we can create a simple nodejs application and dockerize it.


If you are a developer or a computer science student or a software enthusiast you might have heard a term called "Docker". You might know one or two things about docker also. This is not an article for an expert docker user. I am going to explain you - what is docker? what is containers and images? and how docker works?
Introduction
Docker is virtualization platform that helps developers to build light weight and portable applications. Important idea to keep in mind is that Docker is a tool. virtualization and containerization are the concept behind it. There is couple of alternatives for docker, but docker is widely accepted and supported in the community.
To understand why docker is relevant we have to go back to when applications are deployed without docker or any kind of containerization. Back then we used VMs(Short for virtual machines) to run our applications. It was okay till lot of configuration was involved.
"It is working in my system"
All of us might have said this statement at least once in our life time.
It was common for the deployments to go down due to misconfigurations or dependency inconsistency(Doesn't mean deployments are not going down these days). So transporting the application with all the dependencies and configuration was really hard. That is when the idea of containerization was born. Containerization is the idea of bundling all the dependencies, configuration and the application into a single entity that can be transported and deployed easily. It provides portability, consistency and reliability.
Example
Let's see how to convert an app into a docker image. Then I'll explain the architecture of the docker and docker components that helped to create the image. Consider we have a very simple nodejs application.
// index.js
const express = require("express");
const port = process.env.PORT || 8000;

// Create express app instance
const app = express();

// Simple index route
app.get("/", (req, res) => res.send("Hello world"));

// Start server
app.listen(port, () => console.log(`Server started at port ${port}`))
We have a very simple nodejs application that starts simple server using express at port 8000 or the given port in the environment. we can use a file named as Dockerfile to specify the instructions for the image build.
# Base "image"
# This is the read only part. We are importing all the readonly layers which are predefined and adding our own steps into it.
FROM node:16-alpine

# New steps/layers
# Setting a working directory using `WORKDIR` command
# Command sets the specified directory as the default dir for all the following commands. Such as RUN, CMD, ADD
WORKDIR /usr/src/app

# Copy current directory to the image. Copies the entire project folder to the image for running.
# Important whenever you copy/connect between host and guest in docker. Left is always host and right is guest. H
# Here the first . denotes the host system dir and the second . denotes the remote dir inside guest(Image)
COPY . .

# Install all the dependencies for the app to run
RUN npm install --production

# Defining env variables. Most common way is to use a env file with `--env-file` flag or `-e` flag with env values directly specified in the command.
ENV PORT 8888

# Exposing port
EXPOSE ${PORT}

# Starting command specified. We can use `ENTRYPOINT` for the same purpose. This starts our application
CMD [ "npm", "run", "start" ]
Above you can see the simplest Dockerfile. We will explain the Dockerfile in great detail later. Now we can use Docker build command to build an image of this app.
docker build -t <image name> .
Run this command to build the image. Last . denotes the path to the Dockerfile. Now we have an image of the application and we can test it using docker run -p 8000:8888 <image name> now we have an application running inside docker at port 8000. check browser to see if it's working
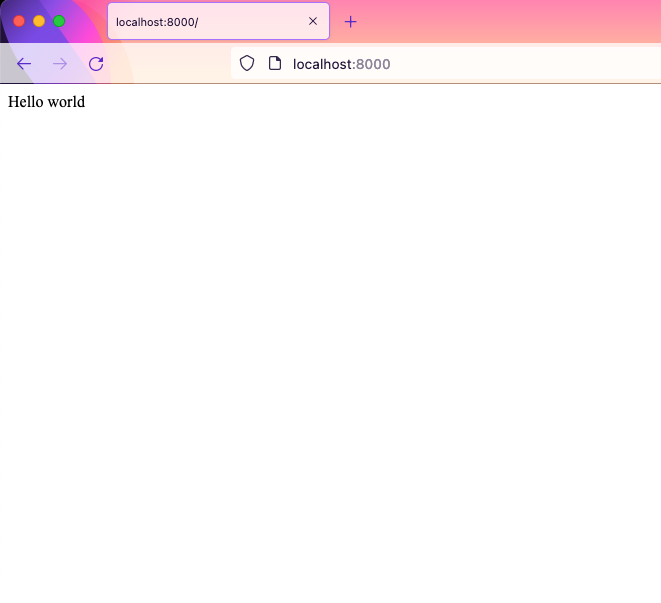
So now we have working image and a container running in our local system.
How it works
 These are the components of Docker. Docker Client, Docker Host and Docker Registry.
Docker client is the most used way to interact with Docker. Docker CLI is a docker client. Whenever we use commands such as docker run or docker build client sends all this to the docker daemon.
DockerHost is the combination of different components that helps to manage docker environment. It includes Docker Daemon, Images, Containers, Networking and Storage.
These are the components of Docker. Docker Client, Docker Host and Docker Registry.
Docker client is the most used way to interact with Docker. Docker CLI is a docker client. Whenever we use commands such as docker run or docker build client sends all this to the docker daemon.
DockerHost is the combination of different components that helps to manage docker environment. It includes Docker Daemon, Images, Containers, Networking and Storage.
Docker Daemon
Docker daemon is the heart of docker. It keeps running in the background listening for the client requests, managing running containers, stored images and others. Whenever a request is received, it communicates with the underlying host operating system and start your container. Docker daemon is responsible for processing all the request received from CLI or REST API then pulling or building different images.
Check out this to learn more about Docker Daemon.
Image vs Container
Though we use terms image and container in same context. Both of them are not the same. Images are read only template that contains instruction to build the container. These instructions are files or commands required for running the container. This includes dependencies, source code and other libraries. Images are stored inside Docker Registry such as docker hub or AWS ECR. A Docker container is the actual running instance of an image. Containers are the ultimate utility of docker, which provide a portable and light weight environment for deploying applications.
Docker registry
We can store all the images inside a docker registry. DockerHub is an example for docker registry. Create an account in docker hub to push your image to the remote registry. We can store image as public or private. After creating a docker hub account use docker login command in your local system login. If you want to login to a private registry then you can use docker login <registry> to login.
To push your image to your registry use command docker push new-repo:tagname. Now you can go to docker hub and see your image updated in the registry. Now others can download and run it if want.
Next up we will look in to Docker Compose to run multiple containers at the same time. And how docker network and storage works.